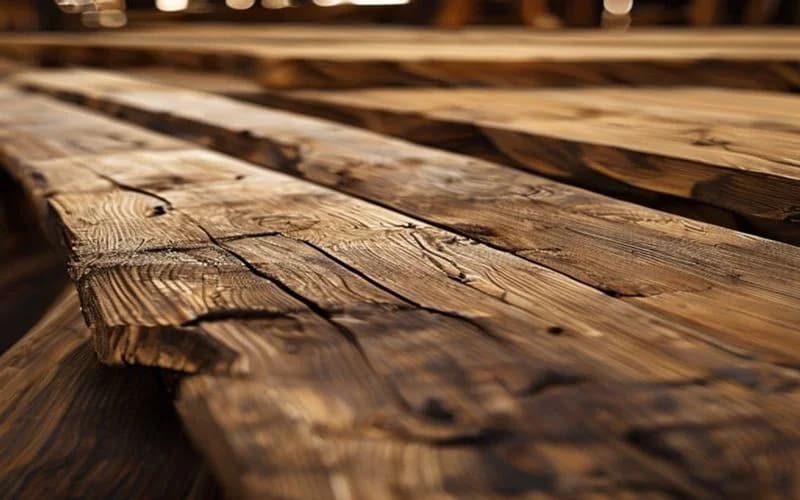
Solid Wood Edging vs. Veneer Banding: Engineering the Right Plywood Edge
Choose the right edge treatment based on structural loads, wear patterns, and profile routing. Compare cost, durability, and installation complexity.
Giang Nguyen
Wood Manufacturing Expert
The Vulnerability of Plywood Edges
Veneer-core plywood is the premier sheet material for cabinet carcasses and furniture panels, but its raw edge is its weakest point. A raw edge exposes the cross-laminated plies, which are porous, prone to splintering, absorb paint and finish unevenly, and are visually unappealing in finished work.
To conceal these plies, woodworkers use two primary methods: thin iron-on veneer edge-banding or thick solid wood edging (lipping). Both methods successfully hide the core plies, but they offer completely different physical properties, installation requirements, and durability limits. Let's analyze these differences to help you select the right edge treatment for your shop builds.
Technical Comparison of Edge Treatments
Selecting the correct edge treatment requires balancing durability, cost, tooling limits, and design goals.
| Property | Iron-On Veneer Banding | Solid Wood Edging (1/8\" - 1/4\") | Solid Wood Edging (1/2\" - 1\") |
|---|---|---|---|
| **Thickness** | 0.5mm - 1.0mm | 3mm - 6mm | 12mm - 25mm |
| **Impact Resistance** | Low (Chips easily on bumps) | Medium-High | High |
| **Water Infiltration Resistance** | Low (Glue can soften) | High | Maximum |
| **Routing Capability** | None (Edges must remain square) | Micro-bevel or ease only (1/16\" radius) | Full profile routing (round-overs, chamfers) |
| **Sanding Safety** | Extremely Low (Easy sand-through) | High | Maximum |
| **Tooling Required** | Iron, trimmer, sanding block | Table saw, clamps, flush-trim router | Shaper/Router table, clamps, cauls |
| **Material Cost** | Very Low ($0.15 - $0.30/ft) | Low-Medium (Shop-milled) | High (Increases board foot costs) |
Iron-On Veneer Banding: The Utility Standard
Veneer banding consists of real wood veneer sliced to 0.5mm thickness, backed with a dry, heat-activated hot-melt adhesive. It is fast, cheap, and requires minimal tools. However, because it is only 0.5mm thick, it has no structural strength. One impact from a hard object will split the veneer, exposing the plywood core. Additionally, it cannot be routed. If you try to route a round-over on a veneer-banded edge, you will cut right through the tape and expose the core plies.
Solid Wood Edging (1/8\" to 1/4\"): The Balanced Shield
Thin solid wood strips (3mm to 6mm) represent a major upgrade in durability. They are milled in the shop from solid hardwood lumber matching the species of the plywood face. These strips are glued to the plywood edge using standard PVA wood glue under clamp pressure. At this thickness, the edging resists impact damage, does not peel under heat or steam, and can be sanded without the risk of sand-through. You can ease the edge with a sanding block to create a comfortable corner.
Thick Solid Wood Edging (1/2\" to 1\"): The Design Standard
Thick solid wood edging (12mm to 25mm) is used for high-end furniture like dining tables, desktops, and drawer fronts. This thickness allows you to route decorative profiles—such as a 3/8-inch round-over, a chamfer, or an ogee profile—directly into the edge of the panel. The plywood core remains completely hidden behind the solid wood profile, making the panel look like a single solid piece of lumber.
[CTA BUTTON: Check Current Price on Amazon]
Engineering Guidelines for Edging Selection
When to Use Veneer Banding
- Cabinet Interiors: Inside drawers, shelving units, or cabinet carcasses where wear is low.
- Modular Shelving: Adjustable shelving inside pantry or closet carcasses that does not receive heavy physical impacts.
- Low-Cost Projects: Utility furniture, shop cabinets, or paint-grade cabinets where budget is tight.
When to Use Solid Wood Edging
- Desktops & Tabletops: Table borders are constant impact zones from chairs, belts, and items dropped on them. Solid wood edging is mandatory to prevent peeling and splintering.
- Drawer Fronts: Cabinet doors and drawers that are repeatedly handled and cleaned need solid protection.
- Moisture Zones: Kitchen vanities and bathroom cabinet doors should avoid hot-melt veneer tape. PVA-glued solid wood edging prevents steam and water splashes from delaminating the edges.
- Decorative Profiles: Any design requiring a routed shape on the edge of the plywood panel.
Step-by-Step Shop Protocol for Solid Wood Edging
Step 1: Milling the Edging
Mill your solid wood strips from dry hardwood lumber.
- Cut the strips approximately 1/16 inch wider than the thickness of the plywood panel. For a 3/4-inch panel, mill the edging to 13/16 inch wide. This ensures that when glued, the strip will stick out slightly proud of the face veneers on both sides, allowing you to flush-trim it perfectly.
- The gluing face of the strip must be straight and jointed flat to ensure a gap-free glue joint.
Step 2: Gluing and Clamping
- Apply an even coat of PVA wood glue (Titebond II or Titebond III) to both the plywood edge and the solid wood strip.
- Align the strip so it overhangs equally on both faces of the plywood.
- Clamp the strip firmly. Use wooden cauls between the clamp jaws and the edging to distribute pressure and prevent clamp marks.
- Space clamps every 6 to 8 inches to ensure even squeeze-out along the entire length. Wipe away wet glue squeeze-out with a damp cloth.
Step 3: Flush Trimming
- Once dry, use a hand-held router loaded with a bearing-guided flush-trim bit. Run the router base along the face of the plywood, allowing the bearing to ride on the edging to cut it flush with the face veneer.
- Avoid belt sanders, which will sand through the thin plywood face veneer in seconds. A guided router bit is the only reliable way to flush-trim wood edging.
- Finish sand the joint by hand with 180-grit paper, sanding with the grain, and ease the corner with a light pass of 220-grit.
Bottom Line
While veneer edge-banding is excellent for fast cabinet construction, solid wood edging is the gold standard for high-wear areas and decorative profiles. Mill your strips slightly wide, use PVA wood glue under clamp pressure, and flush-trim with a guided router bit to deliver durable, beautiful plywood edges.
[CTA BUTTON: Check Current Price on Amazon]
Want to see our testing in action?
Browse our expert-tested standing desk reviews with real lab data.
Explore Reviews