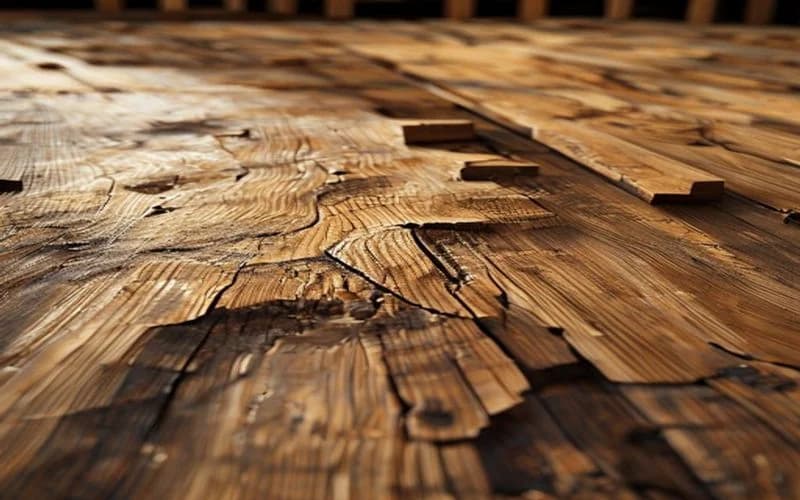
Restoring Scratched Plywood Veneers: Grain Repair and Color Matching
Thin face veneers leave no room for aggressive sanding. Learn professional restoration techniques for shallow scratches, deep gouges, and color-matching wood fibers.
Giang Nguyen
Wood Manufacturing Expert
The Margin of Error in Plywood Veneer Restoration
Sanding and restoring solid wood lumber is straightforward: if you get a scratch, you sand the surface until the scratch disappears. Plywood does not offer this luxury. The face veneer on modern hardwood plywood (such as red oak, walnut, or cherry) is incredibly thin—typically ranging from 0.4mm to 0.8mm (1/64 to 1/32 of an inch). Baltic birch is slightly thicker but still offers limited depth.
If you attack a scratched plywood panel with an orbital sander, you will almost certainly sand through the thin face veneer, exposing the light-colored, low-density core ply or glue line beneath. A sand-through is catastrophic; it cannot be stained or hidden and requires either re-veneering the entire panel or painting over your work. To restore scratched plywood, you must use precise, non-destructive techniques. Let's analyze the protocols for repairing shallow scratches and deep gouges.
Assessing Scratch Severity
Before choosing a repair method, you must determine how deep the scratch penetrates. Run your fingernail gently across the scratch at a 90-degree angle:
- Level 1: Finish Scratch: Your fingernail slides across without catching. The scratch is only in the clear topcoat, not the wood fibers.
- Level 2: Shallow Wood Scratch: Your fingernail catches slightly, but the color of the wood inside the scratch is the same as the surrounding wood. The scratch has cut into the face veneer but has not gone through it.
- Level 3: Deep Gouge / Sand-Through: The scratch is deep, exposing a lighter or darker layer beneath, or showing glue lines. The scratch has penetrated the face veneer and entered the core.
| Repair Strategy | Level 1: Finish Scratch | Level 2: Shallow Wood Scratch | Level 3: Deep Gouge / Sand-Through |
|---|---|---|---|
| **Primary Tool** | Buffing Compound / Polishing Pad | Steam Iron & Damp Cloth / Touch-up Marker | Burn-in Stick / Shellac Card & Fine Brush |
| **Sanding Grit** | 400 - 600 Grit (Wet/Dry) | 320 Grit (Hand sanding block) | 400 Grit (Leveling only) |
| **Color Matching** | None Required | Dye-based touch-up pen | Pigment powder, graining pen, acrylic paint |
| **Risk of Sand-Through** | Very Low | Low to Moderate | High (Requires steady hand) |
[CTA BUTTON: Check Current Price on Amazon]
Step-by-Step Restoration Protocols
Protocol A: Repairing Level 1 (Finish) Scratches
If the scratch is only in the clear coat (polyurethane or lacquer):
- Clean the scratched area with a damp microfiber cloth and let it dry.
- Apply a drop of automotive rubbing compound or fine wood polishing paste to the scratch.
- Buff the compound over the scratch using a clean cotton cloth in circular motions, applying light pressure. This melts the edges of the scratch, blending them with the surrounding clear coat.
- Wipe clean and apply a thin layer of paste wax to restore the original sheen.
Protocol B: Steam-Swelling Level 2 Scratches
If the scratch has compressed the wood fibers of the face veneer, you can often swell them back to flat using heat and moisture.
- Set a household iron to its highest steam setting.
- Place a damp (not dripping) white cotton cloth directly over the scratch.
- Place the tip of the hot iron on the damp cloth directly over the scratch. Hold it there for 5 to 10 seconds. The heat turns the moisture in the cloth into steam, which penetrates the wood cells and causes them to expand.
- Remove the iron and cloth. Let the wood dry for 10 minutes. Inspect the scratch; if it is still visible, repeat the process. Once dry, sand the raised area lightly with 320-grit paper on a hard block to level it, and touch up the finish.
Protocol C: Filling Level 3 Gouges with Burn-in Wax
For deep gouges that cannot be steamed out, you must fill the void with a hard substance that matches the wood.
- Choose a hard burn-in wax stick (or shellac stick) that matches the background color of the wood. Do not use soft crayon-style waxes; they remain soft and will smear when the furniture is cleaned.
- Heat a spatula or a dedicated burn-in knife using a butane torch or electric heater. Melt a small drop of the wax stick onto the hot knife blade.
- Press the melted wax into the gouge. Work quickly; the wax solidifies in seconds. Leave the wax slightly proud of the wood surface.
- Once cured (approx. 5 minutes), use a cabinet scraper or a single-edge razor blade taped on the ends (to prevent scratching the surrounding wood) to slice the excess wax flush with the panel.
Professional Grain Painting and Color Matching
A repaired gouge will look like a solid block of color, which is a dead giveaway that the wood was repaired. Natural wood has grain lines, growth rings, and color variations. To make the repair invisible, you must paint the wood grain back onto the patch.
- Acquire Graining Pens or Acrylic Paints: Use fine-tip dye-based wood markers or acrylic paint with a detail brush (size 0 or 00).
- Paint the Background Color: Apply a base color that matches the lightest wood fibers in the veneer.
- Draw the Grain Lines: Using a darker shade, draw fine lines that match the direction and density of the surrounding wood grain. Interrupted grain lines catch the eye; continuing the lines across the patch hides the repair.
- Seal the Repair: Once the paint is dry, spray a light coat of aerosol shellac or clear lacquer over the repair to seal the colors and match the sheen of the surrounding finish.
Bottom Line
Plywood veneer restoration is a game of patience and micro-repairs. Never sand aggressively. Use steam to swell compressed wood fibers, use hard wax sticks for deep gouges, paint the grain back in, and apply a light clear coat to deliver a flawless, invisible restoration.
[CTA BUTTON: Check Current Price on Amazon]
Want to see our testing in action?
Browse our expert-tested standing desk reviews with real lab data.
Explore Reviews