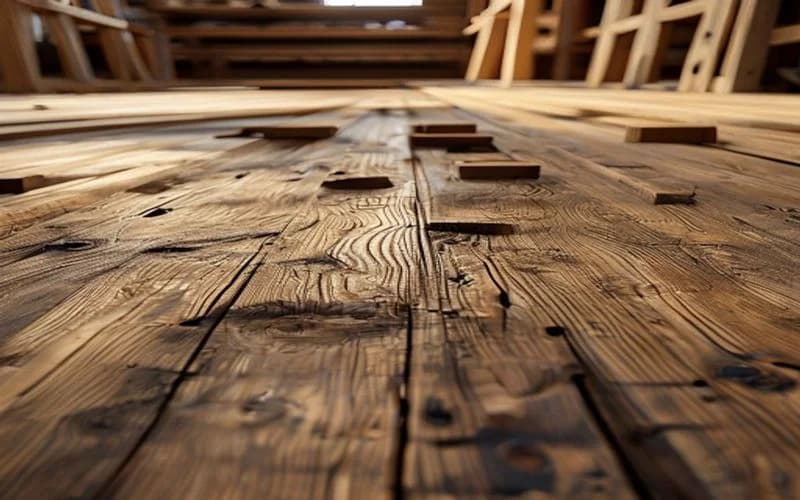
Preventing Squeaky Plywood Floors: Subfloor Physics and Fastener Science
Squeaky subfloors are caused by wood-on-nail friction and joist deflection. Explore the physics of subfloor deflection, adhesive bonding, and mechanical fastener schedules.
Giang Nguyen
Wood Manufacturing Expert
The Anatomy of a Floor Squeak
A squeaky floor is a common issue in residential construction. While homeowners often blame warping wood, the true cause is friction. A squeak occurs when there is relative movement between the plywood subfloor and the floor joists or fasteners.
When a person walks across the floor, their body weight causes the plywood subfloor to bend (deflect) between the joists. If the subfloor is not secured tightly, this deflection causes the plywood to slide up and down the shank of the nail or screw securing it. The high-pressure friction between the steel fastener and the wood fibers produces the squeaking sound. In other cases, the squeak is caused by two adjacent plywood sheets rubbing together along their tongue-and-groove edges because the expansion gap was omitted during installation.
Subfloor Deflection Limits: Span Ratings
To prevent squeaks, you must design the subfloor to resist deflection. Structural codes specify maximum deflection limits based on the span and the final flooring material:
- L/360 Deflection Limit: The standard for carpet and hardwood floors. The maximum deflection under a live load must not exceed the span ($L$) divided by 360 (e.g., for a 16-foot span, the deflection must be less than 0.53 inches).
- L/720 Deflection Limit: The standard for natural stone or ceramic tile floors. Because tile and grout are brittle, the floor must be twice as stiff to prevent cracking. Deflection must not exceed the span ($L$) divided by 720.
To meet these stiffness requirements, you must choose the correct plywood subfloor thickness relative to your joist spacing. Standard 3/4\" (23/32\") tongue-and-groove plywood is the industry benchmark for joists spaced 16 inches on-center. If your joists are spaced 24 inches on-center, you should upgrade to 7/8\" or 1-1/8\" subfloor panels.
The Subfloor Bonding Protocol: Glue and Screw
To eliminate squeaks, you must establish a continuous, permanent bond between the subfloor and the joists. Relying on fasteners alone will not suffice, as wood shrinks and joists settle over time. You must use the Glue and Screw method.
Step 1: Select the Adhesive
Do not use cheap, water-based latex construction glues. They dry brittle, shrink, and can fail under thermal cycles. Instead, use a polyurethane-based subfloor adhesive (such as Loctite PL Premium). Polyurethane adhesives cure through reaction with atmospheric moisture, do not shrink, and remain flexible over time, absorbing structural movement without breaking the bond.
Step 2: Prep the Joists
Ensure the top edge of the joists is clean, dry, and free of mud or ice. Apply a continuous 1/4-inch bead of polyurethane adhesive along the center of the joists. For double-joist areas (where two panels meet), apply two parallel beads.
```
[ Plywood Subfloor ]
═════════════════════════════════════
(Polyurethane Adhesive Bead)
─────────────────────────────────────
[ Floor Joist ]
```
Step 3: Position the Panels
Lay the plywood panels with their long edges perpendicular to the joists. The tongue-and-groove edges must slide together tightly but leave a 1/8-inch expansion gap at the end joints to allow for seasonal expansion without buckling.
Step 4: Fastener Selection and Schedule
Never use standard smooth-shank nails. Over time, the seasonal swelling and shrinking of the joists will push the nails out. Use ring-shank nails or deck screws instead. Ring-shank nails feature concentric ridges along the shank that bite into the wood fibers, providing up to 200% more withdrawal resistance than smooth nails.
Follow this fastener schedule:
- Edge Spacing: Space fasteners every 6 inches along the supported edges of the panel.
- Field Spacing: Space fasteners every 12 inches along the intermediate joists (the field).
- Setbacks: Drive fasteners at least 3/8 inch away from the edge of the panel to prevent splitting the plies.
| Joist Spacing (on-center) | Minimum Plywood Thickness | Fastener Type | Edge Spacing | Field Spacing |
|---|---|---|---|---|
| **16 inches** | 23/32\" (18mm) | 8d Ring-Shank or #8 Screw | 6\" | 12\" |
| **19.2 inches** | 3/4\" (19mm) | 8d Ring-Shank or #8 Screw | 6\" | 12\" |
| **24 inches** | 7/8\" (22mm) | 10d Ring-Shank or #9 Screw | 6\" | 10\" |
[CTA BUTTON: Check Current Price on Amazon]
Retrofit Repair Methods for Existing Floors
If you have a squeaky floor under an existing carpet or hardwood surface, and you cannot access the joists from below, use these repair methods:
- Squeeeeek-No-More Screws: This specialty fastener system allows you to drive a screw through the carpet and subfloor directly into the joist. The screw snaps off below the surface when driven using the alignment tool, securing the subfloor without leaving an exposed screw head.
- Joist Shimming (Access from Below): If you can access the subfloor from a basement or crawlspace, inspect the joists while someone walks overhead. If you see a gap between the joist and the plywood, coat a thin wood shim with wood glue and slide it gently into the gap.
- Adhesive Joist Cleats: Screw a 2x4 cleat tightly to the side of the joist, pressing it up against the underside of the subfloor. Apply a bead of construction adhesive along the top edge of the cleat before installing it.
Want to see our testing in action?
Browse our expert-tested standing desk reviews with real lab data.
Explore Reviews