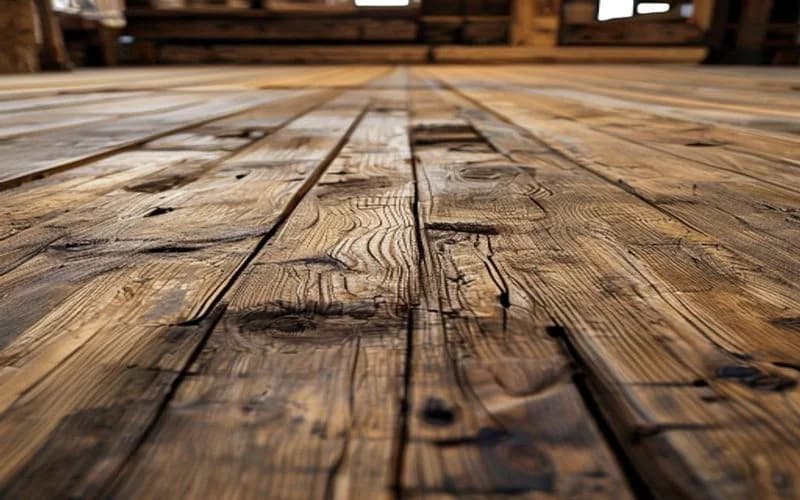
Plywood Subfloors Under Tile: TCNA Standards & Layup Rules
Prevent cracked grout and fractured tiles by mastering TCNA subfloor requirements, joist deflection limits, and plywood grading.
Giang Nguyen
Wood Manufacturing Expert
The Tile-to-Wood Deflection Challenge
Ceramic, porcelain, and natural stone tiles are rigid, brittle materials. They possess high compressive strength but almost zero tensile capacity or flexibility. Wood subfloors, on the other hand, are dynamic and flexible. When walked on, joists flex and plywood panels sag slightly between joists. Under changes in humidity, wood expands and contracts. If this deflection and movement are not controlled, the stress will transfer directly to the tile assembly, resulting in cracked grout lines, fractured tiles, and bond failure.
To ensure a lifetime tile installation over a wood structure, you must follow the standards set by the Tile Council of North America (TCNA). This guide outlines the joist deflection limits, plywood grading requirements, and installation procedures necessary to build a rock-solid tile underlayment.
TCNA Deflection Standards
The first step is verifying the structural integrity of the floor joists. Tile installations require a maximum deflection limit depending on the tile type:
- Ceramic and Porcelain Tile: Deflection must not exceed L/360 (where L is the span of the joist in inches) under a 40 psf (pounds per square foot) live load.
- Natural Stone (Marble, Granite, Slate): Deflection must not exceed L/720 because stone is less flexible than ceramic.
For example, over a joist span of 15 feet (180 inches), L/360 allows a maximum sag of 0.5 inches (12.7mm) at the center of the span under full load. L/720 limits this sag to just 0.25 inches (6.35mm).
Subfloor Layup Specifications
Once the joist structure is certified, the plywood subfloor must be installed. Do not install tile directly over a single layer of plywood. A two-layer system (subfloor + underlayment) is standard practice.
| Joist Spacing | Subfloor Thickness (Nominal) | Underlayment Thickness (Min) | Total Plywood Thickness | Fastener Spacing (Underlayment) |
|---|---|---|---|---|
| :--- | :--- | :--- | :--- | :--- |
| **16" OC (On Center)** | 19/32" (5/8") T&G | 3/8" | 31/32" | 6" on edges, 8" in field |
| **19.2" OC** | 23/32" (3/4") T&G | 1/2" | 1-7/32" | 6" on edges, 6" in field |
| **24" OC** | 7/8" T&G | 5/8" | 1-1/2" | 4" on edges, 6" in field |
Plywood Grades for Subfloors and Underlayment
Not all plywood is suitable for subflooring under tile. You must use panels that resist moisture and compression:
- Subfloor (Bottom Layer): Must be APA Rated Sheathing, Exposure 1 or Single-Floor (Sturd-I-Floor) panels with tongue-and-groove edges. The tongue-and-groove profile locks the panels together, preventing differential deflection between panels.
- Underlayment (Top Layer): Must be APA Underlayment grade, CC-Plugged Exposure 1 or better. This grade has sanded faces and a plugged core, meaning there are no large inner voids that could collapse under the concentrated load of a high heel or heavy appliance.
Never use Luan, MDF, or Particleboard under tile. They possess no structural strength when wet and will swell and delaminate, destroying the tile installation.
[CTA BUTTON: Check Current Price on Amazon]
Installation Procedure: Step-by-Step
1. Subfloor Preparation
Ensure the subfloor panels are securely glued to the joists using a subfloor adhesive (meeting ASTM D3498 standards) and screwed down. Ring-shank nails can loosen over time, causing squeaks and deflection.
2. Underlayment Layup
Lay the underlayment panels perpendicular to the floor joists. Offset the joints of the underlayment from the joints of the subfloor by at least 2 inches (50mm). Never align four corners of panels. Leave a 1/8-inch (3.2mm) gap between all underlayment panel edges and walls to allow for expansion.
3. Fastening
Fasten the underlayment using wood screws or ring-shank nails. Do not use drywall screws, as they lack shear strength. Fastener length must be selected so the tip does not penetrate the bottom of the subfloor (which could rub against joists and cause squeaks). Glue the underlayment to the subfloor? No. TCNA recommends against gluing the underlayment to the subfloor, as this locks the two layers together, increasing the risk of stress transmission from the joists to the tile.
4. Isolation Membrane
Before thin-setting your tile, install an uncoupling membrane (such as Schluter-Ditra). This membrane features a grid structure that allows the wood subfloor to move horizontally without transferring that shear strain to the tile above, guaranteeing a long-lasting, crack-free installation.
Want to see our testing in action?
Browse our expert-tested standing desk reviews with real lab data.
Explore Reviews