Fixing Plywood Tear-Out: Micro-Repair and Grain-Matching Protocols
A slip of the saw can ruin an expensive oak or walnut face. Master the woodshop techniques for invisibly patching, grain-matching, and repairing veneer tear-out.
Giang Nguyen
Wood Manufacturing Expert
The Mechanics of Tear-Out
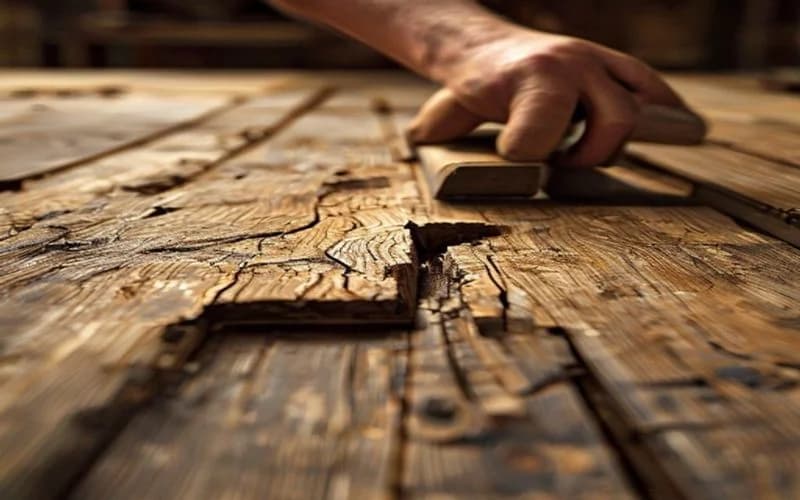
Tear-out is the mechanical fracturing and splintering of wood fibers that occurs as a cutting tool (saw blade, router bit, or chisel) exits a workpiece. In solid lumber, tear-out is frustrating; in hardwood plywood, it is often catastrophic. Because plywood face veneers are thin (typically 0.4mm to 0.6mm), the saw blade teeth exit the cut by pushing up against unsupported fibers. Lacking mechanical support, these fibers shear and pull away from the core plies, leaving jagged, white core wood exposed along your edge.
While prevention (using zero-clearance inserts, scoring cuts, and high-TPI crosscut blades) is ideal, tear-out will happen eventually. When it does, you do not have to scrap the panel. By using precise micro-repair techniques, you can restore the surface and grain pattern.
Method 1: The Dutch Patch (Veneer Insert)
For large, visible tear-out scars along a finished edge, the best repair is a "Dutch Patch" — inserting a clean piece of matching veneer cut from the scrap of the same sheet.
- Select the Patch Material: Find a piece of scrap veneer from the same panel. Match the grain direction, color, and figure exactly.
- Cut the Patch: Use a razor-sharp carving chisel or utility knife to cut a small, elongated diamond or parallelogram shape from the scrap veneer. The diamond shape blends into the surrounding grain far better than a square or circle, as the angled joint lines are less visible to the eye.
- Taper the Edges: Lightly bevel the edges of your patch at a 5-to-10-degree inward angle. This creates a wedge shape that will sit tightly in the recess.
- Inscribe the Scar: Place the patch directly over the torn-out area on the plywood face. Align the grain. Use a sharp marking knife to trace the exact outline of the patch onto the damaged veneer.
- Chisel the Recess: Remove the patch. Using a sharp chisel, carefully pare away the damaged veneer fibers within the scribed line down to the first core glue line. Keep the bottom of the recess flat and clean.
- Glue and Press: Apply a thin layer of PVA glue to the recess. Press the patch into place. Place wax paper over it, followed by a flat block, and clamp securely for 1 hour.
- Sanding Flat: Once cured, lightly hand-sand the patch using 220-grit sandpaper wrapped around a hard block. Sand parallel to the grain. Do not use an orbital sander, as you risk burning through the surrounding veneer.
[CTA BUTTON: Check Current Price on Amazon]
Method 2: Acrylic/Epoxy Infused Filler and Grain Drawing
For small, isolated chips or tear-out along joint lines, a resin-based fill followed by hand-drawn grain matching is the fastest path to invisibility.
- Prepare the Filler: Do not use cheap, chalky water-based wood fillers. They dry flat, shrink, and lack the translucency of natural wood. Instead, use a two-part polyester wood filler (like Bondo Wood Filler) or a clear, thick epoxy mixed with fine sawdust generated from the same sheet.
- Overfill the Defect: Pack the epoxy or filler tightly into the tear-out gap using a putty knife. Leave the fill slightly proud (higher than) the surface to account for any shrinkage.
- Sanding: Let the filler cure completely. Sand it flush with the face veneer using a hard sanding block wrapped in 180-grit sandpaper, finishing with 220-grit.
- Base Color Matching: The cured filler will look like a solid, uniform color block. To blend it, you must apply a base coat stain or colored dye marker that matches the background color of the wood.
- Draw the Grain Lines: Using a fine-tipped artist's detail brush and acrylic paint or alcohol-based touch-up markers (such as Mohawk Ultra Mark markers), carefully draw the dark grain lines across the repaired spot. Mimic the direction and thickness of the surrounding grain. Work slowly, building up thin layers of color.
- Lock it in with Clear Coat: Spray a light mist of clear aerosol shellac or lacquer over the repair to seal the ink and paint. This restores the correct sheen and prevents the drawing from rubbing off during final finishing.
| Repair Type | Best for | Difficulty | Durability |
|---|---|---|---|
| **Dutch Patch** | Large chips, edge blowouts | High | Excellent (Real Wood) |
| **Epoxy + Sawdust** | Small voids, corner repairs | Medium | High |
| **Burn-In Shellac** | Small surface gouges, scratches | Medium | Medium (Melts under heat) |
| **Acrylic Drawing** | Color corrections, blending | High | High (Requires topcoat) |
Want to see our testing in action?
Browse our expert-tested standing desk reviews with real lab data.
Explore Reviews