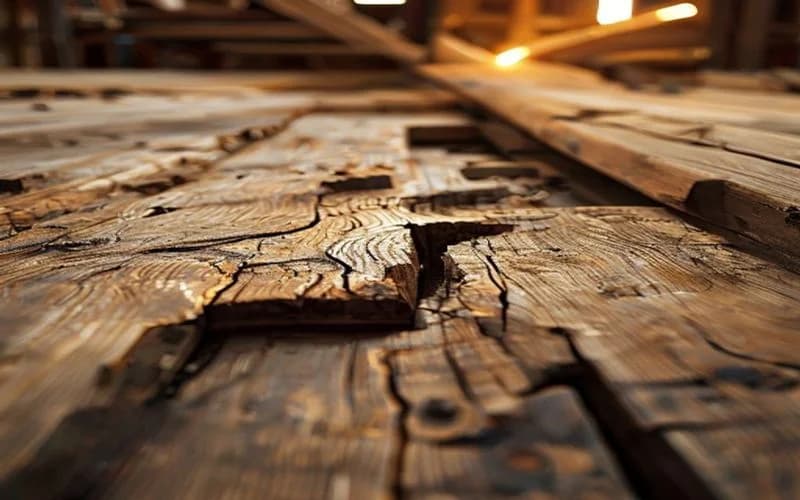
Fixing Plywood Delamination: Glue Line Failure Chemistry and Repairs
Delamination is the structural failure of inner ply bonds. Learn the chemistry of adhesive failure and how to execute high-pressure resin injection repairs in the shop.
Giang Nguyen
Wood Manufacturing Expert
Understanding Delamination: Why Plies Separate
Delamination is the separation of adjacent veneer plies within a plywood sheet. It represents a catastrophic structural failure of the adhesive bond. When plies separate, the panel loses its shear strength, stiffness, and load-bearing capacity. You will often detect delamination as a bubbling of the face veneer or as a split running along the edge of the panel.
Delamination is caused by one of two factors: factory adhesive defects or environmental stress. Factory defects include starved glue joints (too little adhesive applied), pre-cure (the glue dried before the panel was pressed), or under-curing (insufficient heat or press time). Environmental factors include prolonged exposure to water, high heat, or cyclic moisture swings that exceed the physical limits of the adhesive. When these forces pull the wood veneers apart, the glue line shears.
Adhesive Chemistry: Thermoplastic vs. Thermosetting Resins
How you repair delamination depends on the glue class used to manufacture the panel. Plywood adhesives fall into two primary chemical families:
Thermoplastic Adhesives (PVA and Polyurethanes)
These adhesives cure through drying or chemical reaction but remain sensitive to heat. Standard Polyvinyl Acetate (PVA - common yellow wood glue) softens when heated above 150°F (65°C). If you are repairing a panel bonded with a thermoplastic glue, you can often reactivate the factory adhesive using heat and pressure.
Thermosetting Resins (UF, MUF, and Phenolic WBP)
These adhesives undergo a permanent chemical cross-linking reaction under heat and pressure during manufacturing. Once cured, they cannot be melted or reactivated. Urea-formaldehyde (UF), Melamine-urea-formaldehyde (MUF), and Phenol-formaldehyde (WBP) glues are thermosetting. If these bonds fail, you must inject fresh adhesive to create a new mechanical and chemical bond.
Mapping the Damage: The Tapping Test
Before attempting a repair, you must locate the boundaries of the delaminated area.
Take a small brass rod, wood mallet, or even a large coin and tap the surface of the plywood in a grid pattern. Listen carefully to the pitch of the tap. A solid, well-bonded panel will produce a high-pitched, sharp click. When you hit a delaminated pocket, the pitch will drop to a hollow, dull thud. Use a pencil to map the outline of the hollow zone on the face of the wood. This ensures you target your adhesive injection precisely.
Step-by-Step Delamination Repair Protocol
For edge delamination or surface blisters on thermoset panels, follow this shop repair process:
Step 1: Open the Void
If the delamination is on the edge of the panel, use a thin feeler gauge, a palette knife, or a dental pick to gently open the gap. Do not force it so far that you split the solid wood plies. Your goal is to clear out any loose wood fibers, dirt, or old crumbly glue. Use compressed air to blow out dust from the pocket.
Step 2: Select the Repair Adhesive
Do not use standard PVA glue for deep delamination repairs. PVA requires very tight wood-to-wood contact and dries through evaporation, which is slow inside a sealed veneer cavity. Furthermore, PVA is thick and will not flow deep into a narrow split.
Instead, use a low-viscosity, 100% solids epoxy resin (such as West System 105 Resin with 205 Fast Hardener, or a dedicated penetrating epoxy). Epoxy does not shrink as it cures, does not require high clamping pressure, and flows easily into micro-cracks via capillary action.
Step 3: Inject the Resin
Load the mixed epoxy into a medical-grade syringe fitted with a blunt-tip 14-gauge or 16-gauge needle. Insert the needle deep into the mapped delamination zone. Inject the resin slowly until it begins to squeeze out of the entry point or the edge of the panel. For surface blisters where there is no edge access, drill a tiny 1/16\" hole through the face veneer directly into the hollow pocket, insert the needle, and fill the void.
```
[ Clamping Caul (Wood block) ]
═════════════════════════════════════ <-- Wax paper barrier
─── Face Veneer (Drilled Hole) ────
═══[ Epoxy Injected into Void ]═══ <-- Delaminated layer
─────────────────────────────────────
═════════════════════════════════════
[ Plywood Core Plies ]
```
Step 4: Apply Wax Paper and Clamping Cauls
Epoxy will squeeze out under clamping pressure and can glue your panel to your workbench or clamps. Place a sheet of wax paper or parchment paper directly over the repair. Place a thick, flat wooden block (clamping caul) over the wax paper to distribute the clamping force evenly. Clamp the assembly tightly.
Step 5: Clamping Pressure Calculation
To ensure a flat, strong bond without squeezing all the glue out (which creates a starved joint), aim for moderate clamping pressure. For epoxy repairs, 20 to 40 psi is sufficient. Use heavy-duty F-clamps or parallel clamps, tightening them securely but not excessively.
| Adhesive Type | Minimum Clamp Time | Full Cure Time | Re-machining Window |
|---|---|---|---|
| **PVA Glue** | 1 hour | 24 hours | 24 hours |
| **Standard Epoxy** | 6 hours | 24 hours | 12 hours |
| **Polyurethane (PUR)** | 2 hours | 24 hours | 12 hours |
[CTA BUTTON: Check Current Price on Amazon]
Want to see our testing in action?
Browse our expert-tested standing desk reviews with real lab data.
Explore Reviews