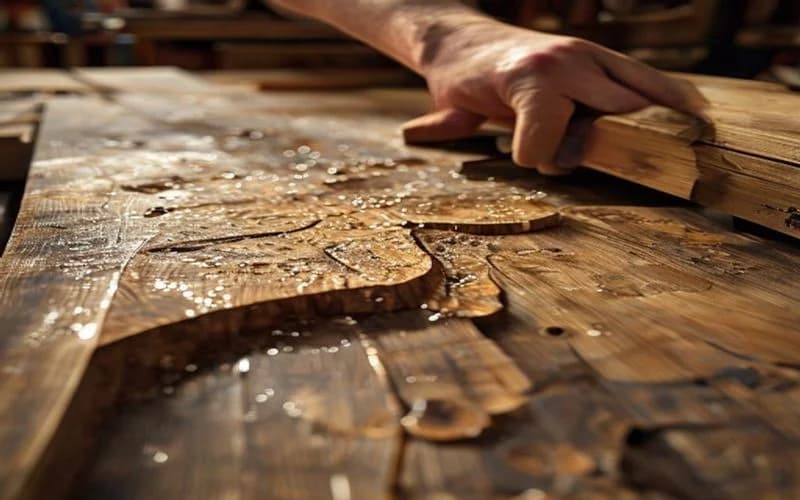
Fixing Blisters in Veneer Plywood: Repairing Glue Voids and Bubbles
Factory glue voids cause face veneers to lift and bubble. Learn how to diagnose, inject, heat-activate, and press down blisters in veneer plywood.
Giang Nguyen
Wood Manufacturing Expert
The Cause of Veneer Blisters
A veneer blister is a bubble or raised pocket on the face of a plywood sheet. It occurs when a section of the thin face veneer separates from the crossband ply below. Blisters can ruin the appearance of a finished cabinet or tabletop.
Blisters are caused by glue voids (areas where the adhesive bond failed or was never established during manufacturing). Common causes include trapped moisture pockets that vaporize into steam during hot-pressing, dust on the core veneers that prevents the adhesive from wetting the wood, or a starved glue line. If a blister is tiny, it may pass quality control undetected at the mill, only to bubble up weeks later when the panel acclimates to a dry shop or when you apply a water-based finish that causes the wood fibers to expand and lift.
Diagnosis: The Tap-Test and Light Inspection
To find veneer blisters before you apply finish, inspect your panels using two shop diagnostic steps:
- Raking Light Inspection: Place a shop light at a low angle to the panel. This casts shadows on any high spots, allowing you to see blisters.
- Tapping Test: Gently tap the face veneer using a wood block. A well-bonded area will produce a solid click. If you hit a blister, the sound will change to a hollow thud. Mark the boundaries of the blister with a soft pencil.
Shop Repair Procedures
How you fix a blister depends on the type of adhesive used at the factory. Try the heat activation method first; if that fails, use the micro-injection method.
Method 1: Thermodynamic Heat Reactivation
Many standard cabinet-grade hardwood plywood sheets are bonded using thermoplastic adhesives (such as PVA or melamine resins) that soften under heat. If the glue is thermoplastic, you can reactivate it and press the blister flat without injecting new adhesive.
- Set Up a Household Iron: Heat the iron to its "cotton" setting. Turn off the steam function (dry heat only).
- Protect the Wood Face: Place a clean, dry cotton cloth or brown paper bag over the blister to protect the wood veneer from direct heat and scorching.
- Heat the Blister: Press the hot iron down firmly on the protective cloth directly over the blister. Keep the iron moving in small circles for 30 to 60 seconds to heat the veneer and soften the factory glue underneath.
- Roll and Press: Remove the iron and immediately press a wood roller or block over the hot area. Press down firmly, rolling from the edges of the blister toward the center to squeeze out trapped air and ensure contact.
- Cool Under Pressure: Place a flat wooden block over the area and weight it down with a heavy object (a brick or clamp) for 30 minutes until the wood is cool and the glue has set.
[CTA BUTTON: Check Current Price on Amazon]
Method 2: The Micro-Slit and Syringe Injection
If the heat method fails, the factory glue was likely a thermoset resin (like urea-formaldehyde) which cannot be reactivated by heat. You must inject fresh adhesive under the blister.
- Cut a Micro-Slit: Use a razor-sharp scalpel or carving knife to make a tiny slit along the grain lines in the center of the blister. Cutting parallel to the grain makes the cut virtually invisible once repaired.
- Inject the Glue: Load a syringe with a low-viscosity PVA glue (such as Titebond I) or a slow-cure epoxy. Insert the needle through the slit, sliding it under the veneer. Inject a small amount of glue. Do not overfill the void, as this will cause the veneer to bulge when clamped.
- Distribute the Glue: Gently massage the top of the blister with your fingers to spread the injected glue to the outer edges of the void.
- Clean the Squeeze-Out: Wipe away any glue that squeezes out of the slit using a damp cloth.
- Clamp Flat: Place wax paper over the slit, followed by a flat block, and clamp tightly. Let it dry for 12 to 24 hours.
```
[ Clamping Caul (Wood block) ]
═════════════════════════════════════ <-- Wax paper barrier
─── Face Veneer (Micro-Slit) ────
═══[ Glue Injected into Void ]═══ <-- Blister pocket
─────────────────────────────────────
═════════════════════════════════════
[ Plywood Core Plies ]
```
Preventing Sand-Through During Repair
Face veneers are very thin. When repairing a blister, you must avoid sanding through the veneer. Use these sanding rules:
- Never sand a hot blister: Let the wood cool completely before sanding, as hot wood fibers are softer and easier to damage.
- Use a Hard Sanding Block: Do not use your hand or a soft foam block, as they will follow the contours of the wood, sanding the high spots thin. A hard block ensures you sand only the high spots flat.
- Use High-Grit Sandpaper: Use 220-grit or higher for the final sand, applying light pressure.
Want to see our testing in action?
Browse our expert-tested standing desk reviews with real lab data.
Explore Reviews